Translate

Friday, June 22, 2012

Gramercy Turning Saw

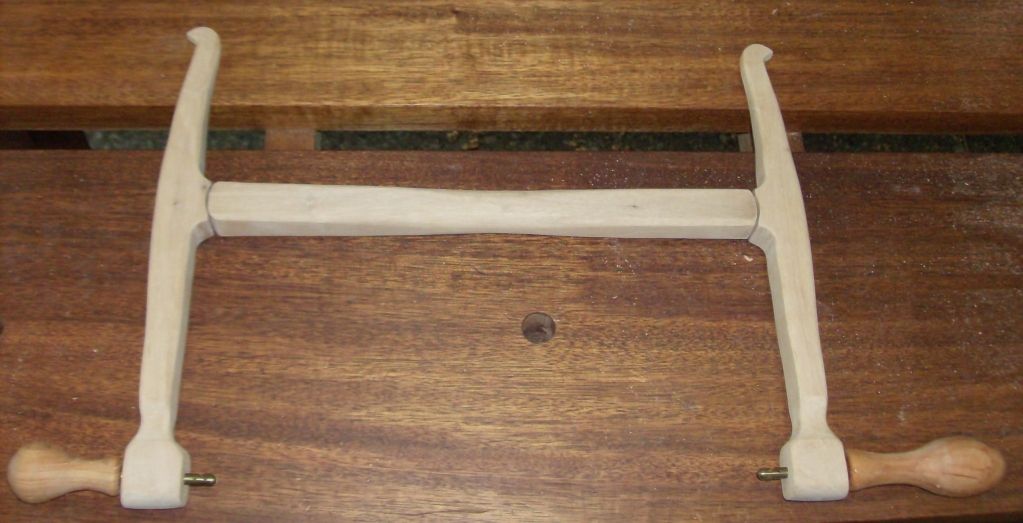
I have had the parts for this Gramercy Turning saw laying around for about one year.  I bought the handles, brace blade holders and an assortment of blades from Tools for Working Wood in Brooklyn New York.. 12 " Bow Saw.  I dont have pictures of the inital shaping, but there are certainly many posts on doing the shaping process throughout the WWW.  Shannon Roger's blog has an excellent video on the construction and shaping. Bow Saw Build.  Note click on any image to enlarge.

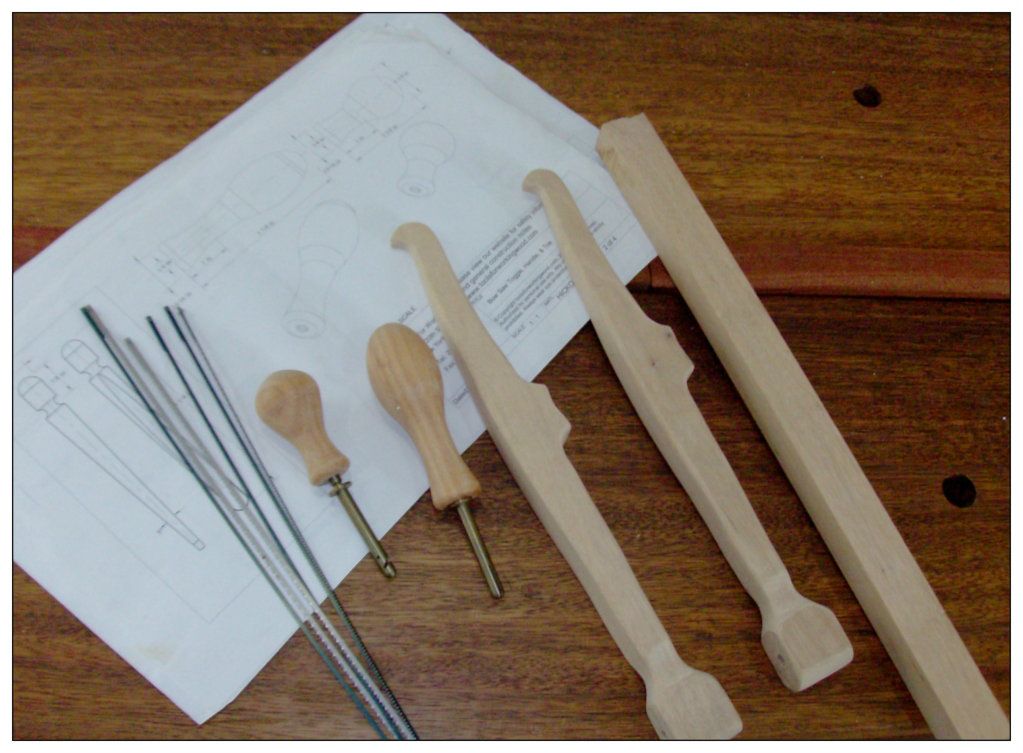
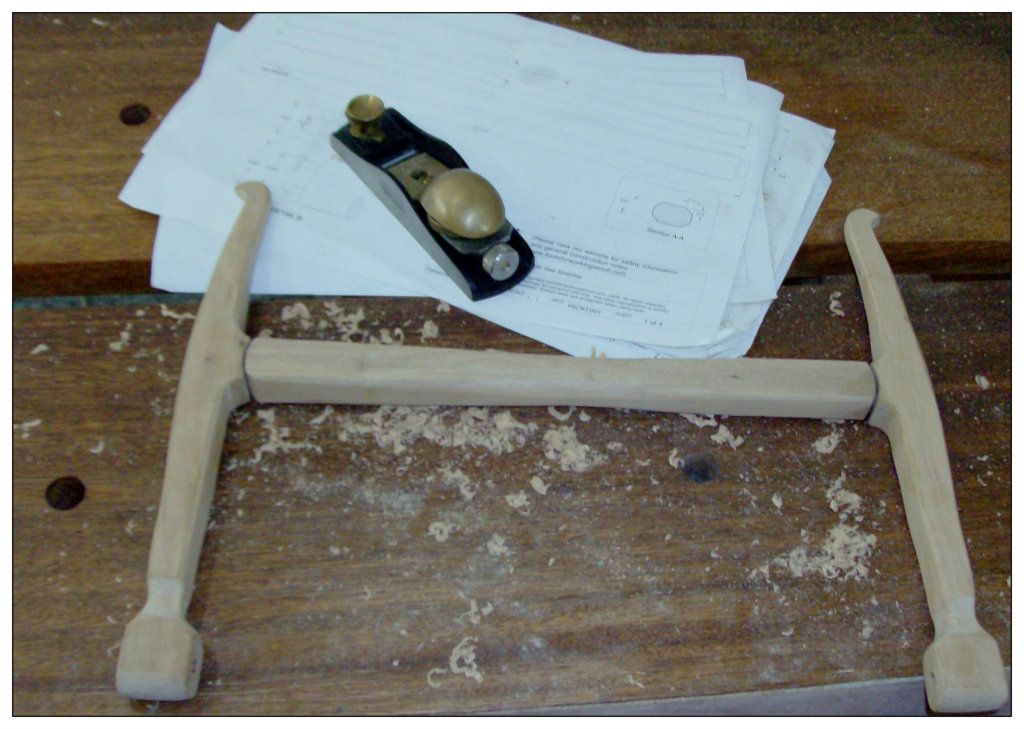
Here is the parts lay out after some of the initial shaping was completed. The wood is persimmon, I had some of it laying around and had read that it was hard ebony like material.  It worked beautifully with hand tools:


Refining the shape of the arms of the saw:


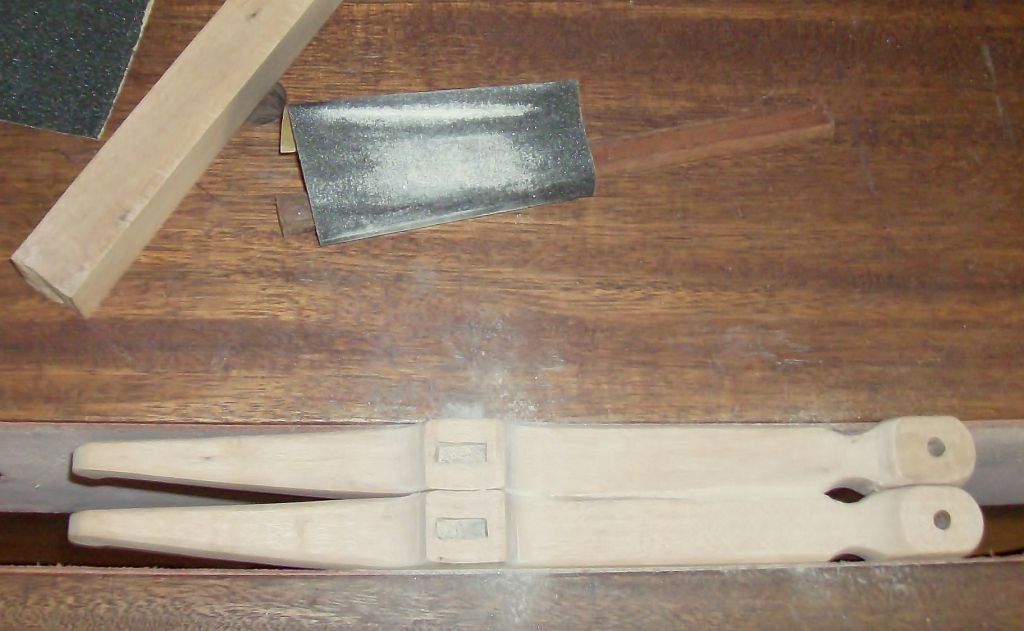
Laying out the tenons:


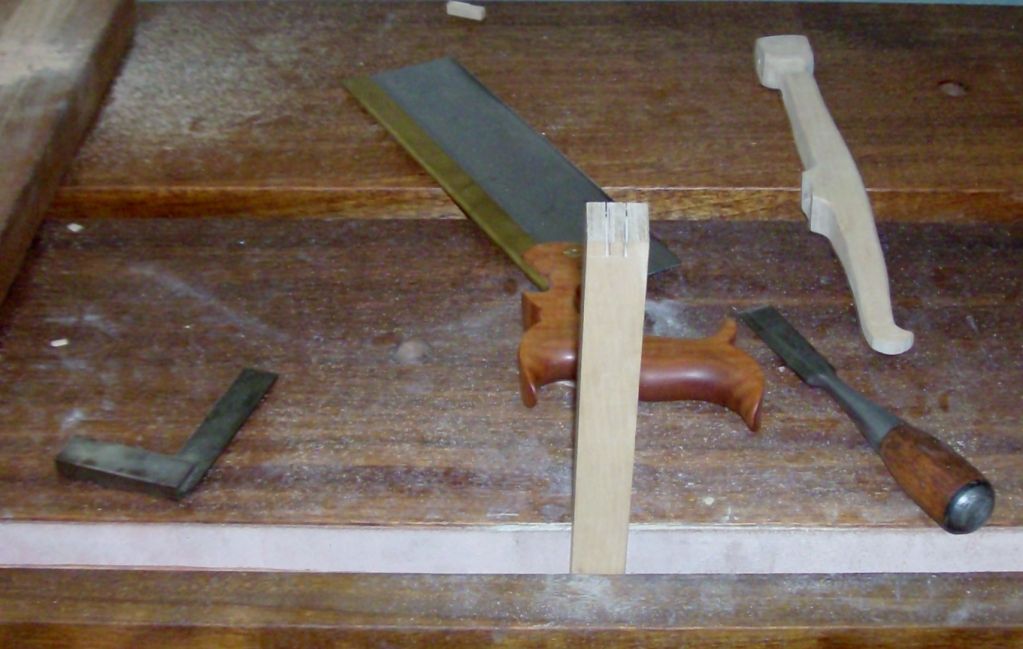
Cutting the Tenons:


Lay out after tenons have been cut and finished and beginning the refining of the stretcher:


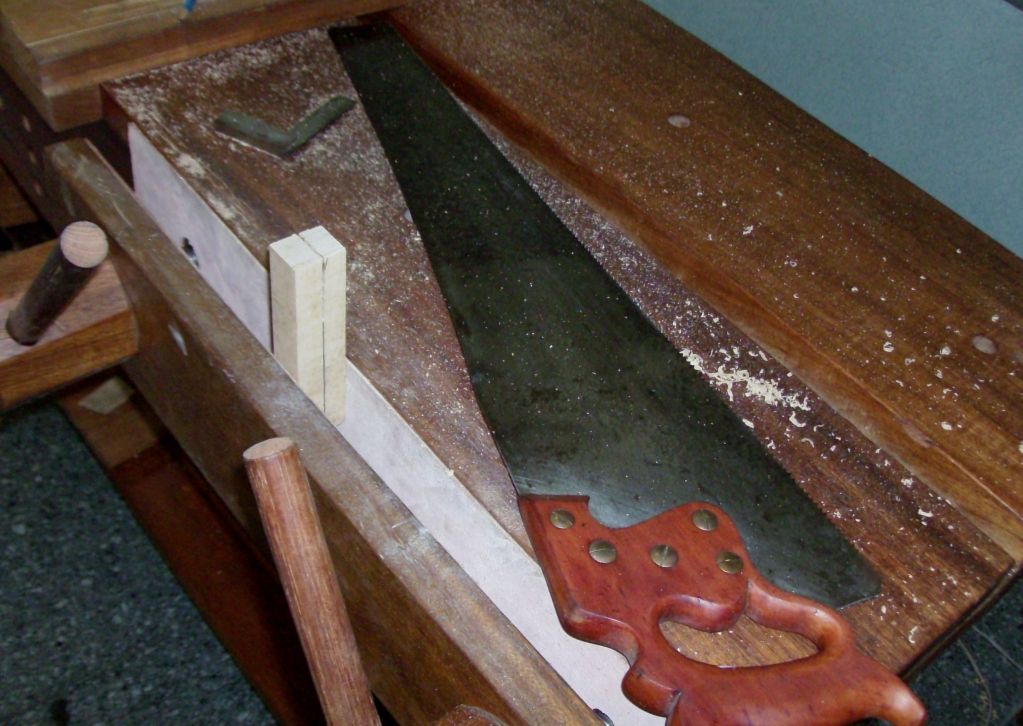
Ripping some stock to fashion the toggle:


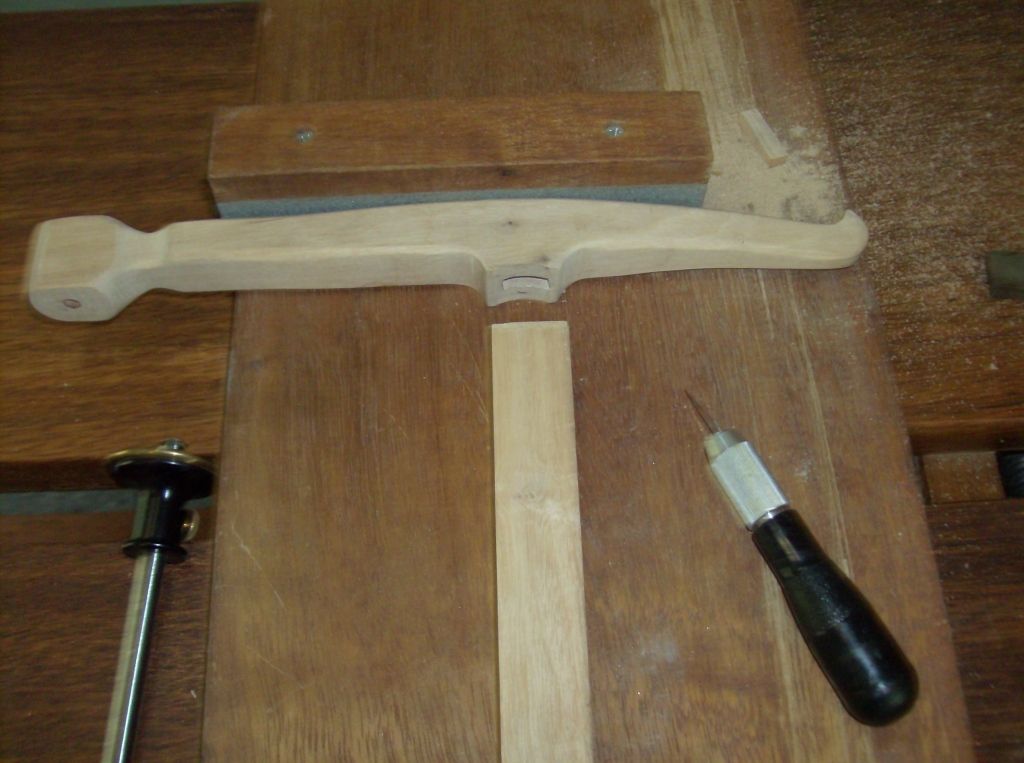
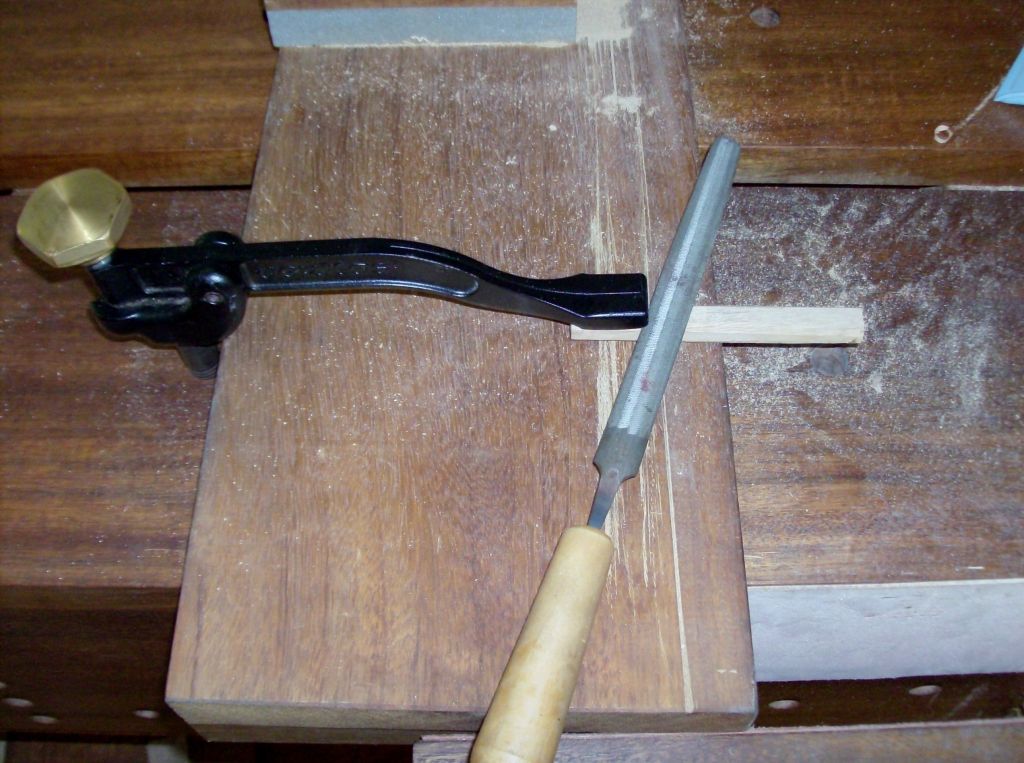
Refining the shape of the toggle:


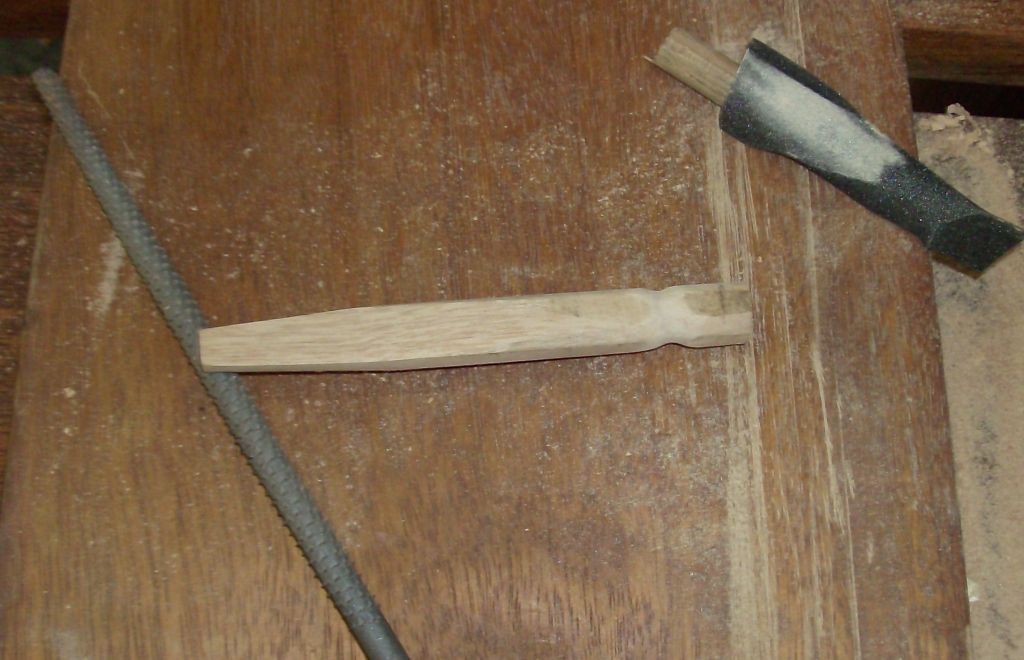
Further refinement and shaping:


Dry fit of parts after shaping:


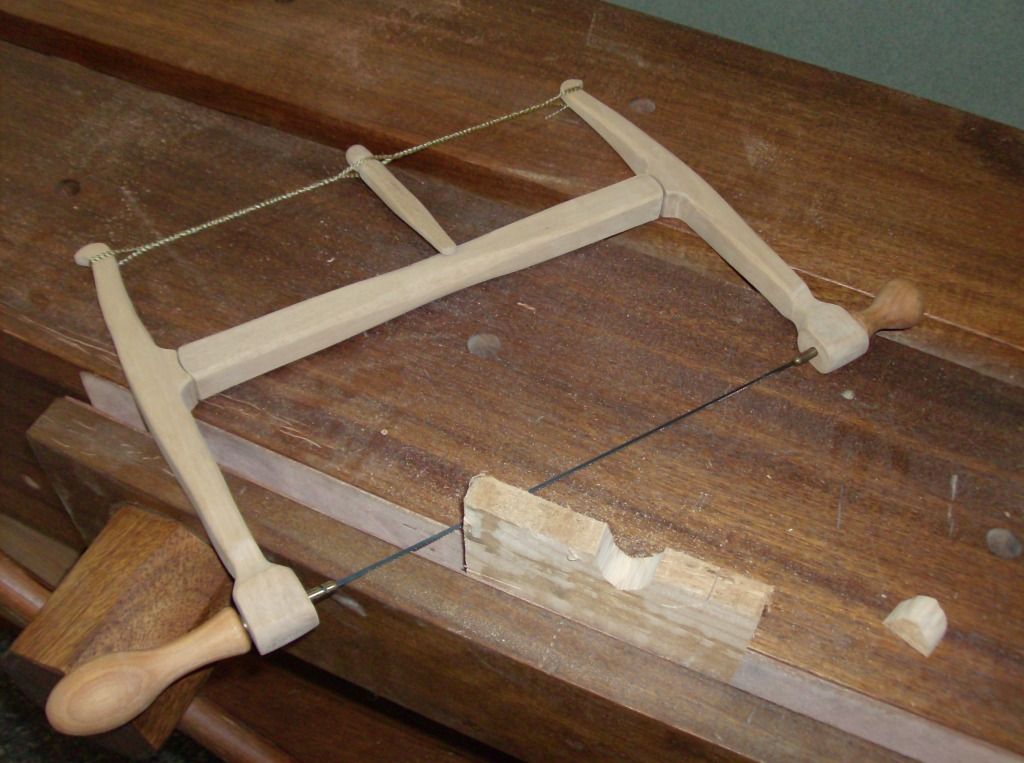
Test cut, I used 60 pound test braided fishing line for the twine:


Finished after a few coats of Teak Oil and Wax, quite happy with the result:
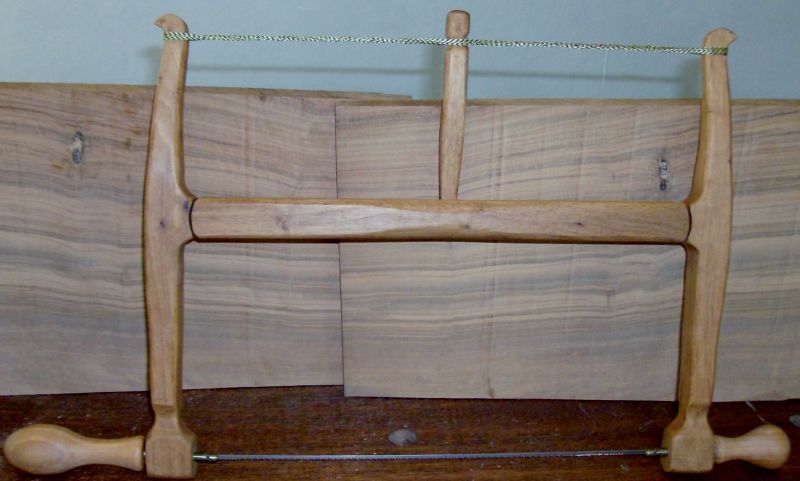


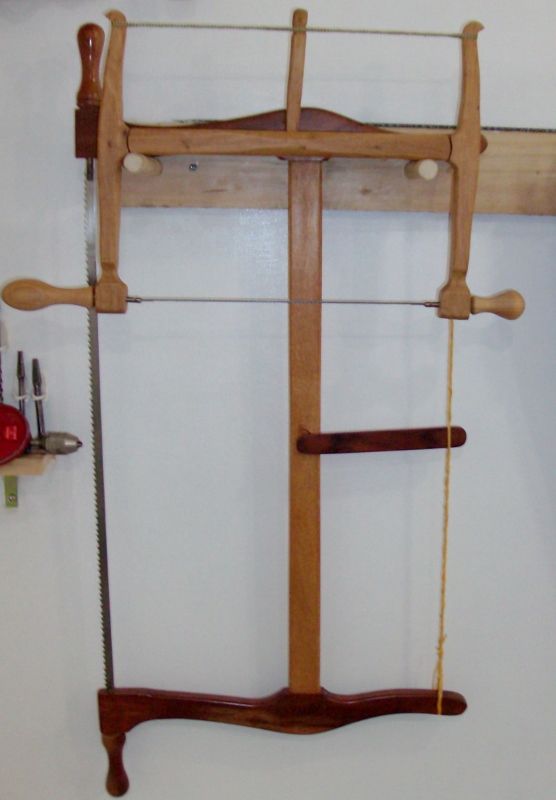
Mama bow and baby bow:


Wednesday, May 2, 2012

Current Shop Virtual Tour


Two Benches Two Decades

Bench 1992
Bench of Many Colors-Wood Central
Built from Plans from Wood Magazine
Time flies when..... Unbelievable to think that it has been 20 years since I built this first bench. Although truthfully from start of build to final was close to 5 years!   A lot of interruptions in between.  This bench was built like a monster and if I do say so myself it is beautiful.  The top was Laminated Maple, end skirts and twin screw from Padauk, side skirts Walnut, trestle legs and stretchers from Red Oak,  a twin screw vise cover from Birds Eye Maple, Ebony turned handles for the vise, and just for good measure throw in some Lacewood accents inlaid into the Walnut side board.  This was of course at that time basically a 100% power tool project.  I think the only had tools used were some mortise chisels to cut the through tenons for the stretchers.  Additionaly this bad boy has 4 - 3/8" threaded stainless steel rods running laterly inside the laminated top.  Now for the funny story, after it was all finished, I was afraid to use it!  Did not want to dent or scratch it, afraid to get glue on it, ect. ect.  But obviously it did get some use after the 'new car syndrome" wore off.  I still own the bench and it is sitting in a basement shop in New York to this day.  It is still rock solid and still flat as can be.  Guess all the over-engineering at the time was worth it. 


English Style Bench 2012
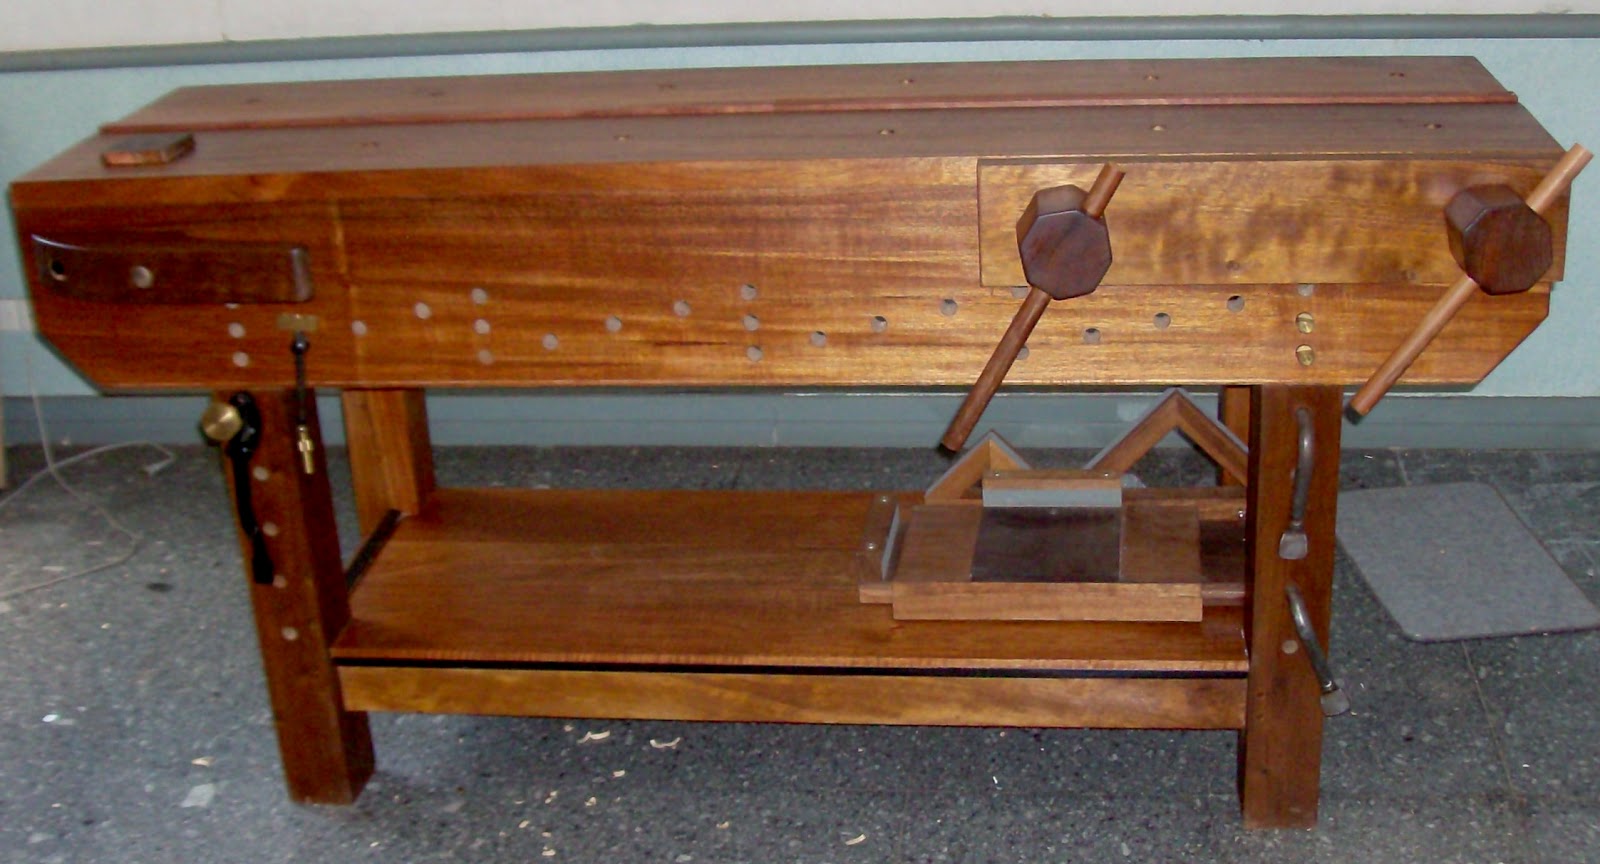
English style work bench built from plans from Logan Cabinet Shoppe


I am not going to go through any of the specific building process as the link above to Logan Cabinet Shoppe Blog has a complete write up and video of the design and build of this particular bench.  All I can say it really works for me.  My bench is about 6' long, I wish I could have made it a little longer but I knew that I would have to move it so I kept it at a more managable length. 


Some Pictures of the Build:

The wood is called Ha Ngam it comples from Laos.  Works and looks a little like American Walnut.  Interesting here in Thailand you can go to a lumber yard and they will pretty much dimension everything for you.  This is as I received it from the yard.  The cost on this material works out to be about US $2.00 a board foot!


Laying Out the Mortises


Set up shop inside to dimension the material and chop the mortises.


Mortises completed.  I used a brace and bit to remove most of the material before chopping.


Cutting Haunches in the legs.  Hot work! It was about 95 F that day.  This was the last one.


Standing for a dry fit.


Another Shot at the finished product.


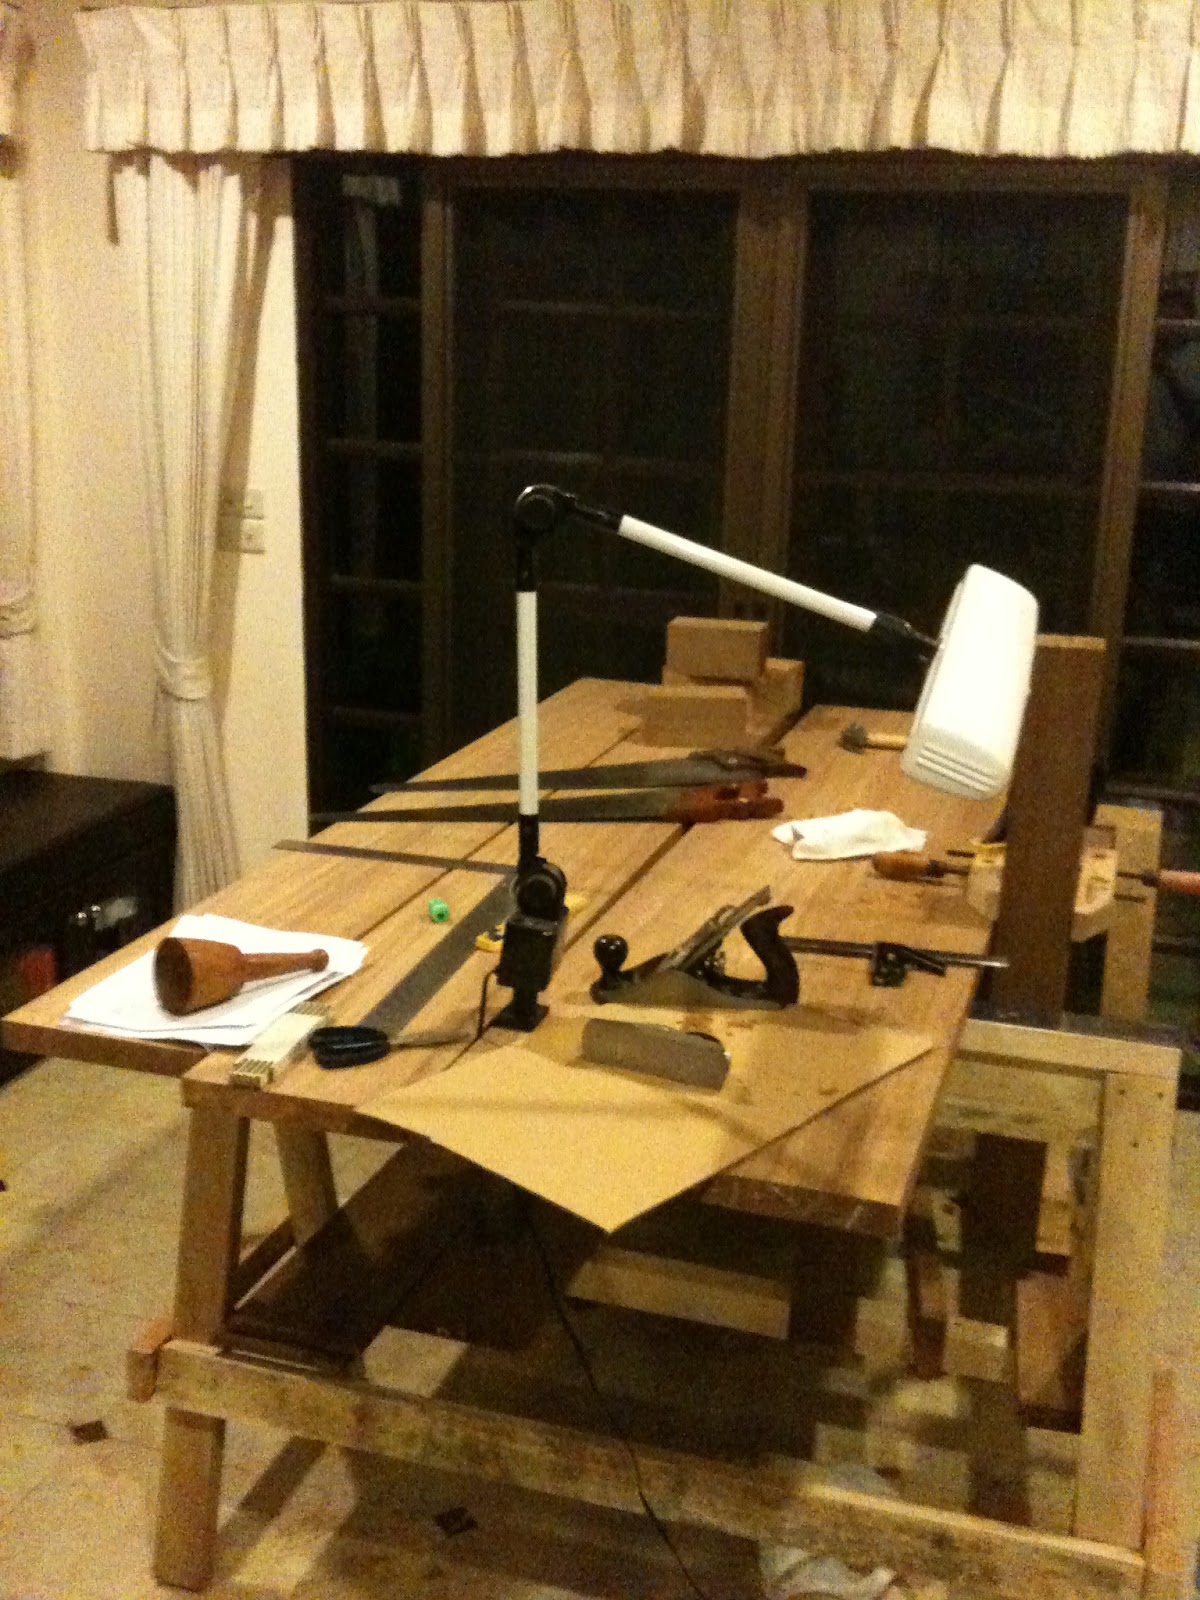
This was my "Shop" in Chiang Mai.  Not bad huh??


Thursday, April 26, 2012

Greetings and Hello

This little blog will serve as a bit of a place holder for projects that I have attempted and projects that I have accomplished. It is called "Fun" Woodworking because that all it is to me just a fun escape and a small attempt to improve my personal skills. It is no intention meant to be an instructional site (I am not worthy hah!), just a glimpse of what I am doing and how I tried to go about it. I am but a mere amateur to the incredible craftsman on the Web. Their are so many incredible woodworking Blogs but I have to give credit to Bob Rozaieski at "Logan Cabin Shop". Logan Cabinet Shop I 100% credit his Blog for getting me re-inspired and back into woodworking after a long long hiatus. Bob's incredible videos and instruction motivated me to build my work bench.  Another credit is Derek Cohen "In the Woodshop ",In The Woodshop I think the guy is amazing.  I have interpreted many of his ideas into my own workshop fixtures, and always enjoy his insight and wisdom on all of the woodworking forums.  Another person I found incredibly inspiring was Curtis Buchanan,Curtis Buchanan I watched in amazement everyone of his U Tube videos on Windsor chair making.  It was totally amazing and inspiring even though I know I will never have the skill or opportunity to create something like what he does.  Who else,  obviously for me Norm Abram who I always enjoyed watching and coveting all the tools and stuff that he had.  And of course Roy Underhill, I have watched his shows over and over and still enjoy them thoroughly.  And most importantly, not lastly! my father Vernon Yeager, the most amazing craftsman and teacher one could ever imagine.  My father was a professional civil servant for his career, but as a hobby and a diversion he could work in almost any medium.  Dad was an accomplished wood worker, he worked in stone, he worked in metal both in a forge as well as welding, he was an incredible mechanic and could take apart and repair virtually any machine or engine, he was a skilled electrician, he had this amazing ability to visualize something and then just "make" it.  My father my friend my inspiration my teacher, I was lucky...sadly I lost him too early in life. 


So this little bit of cyber space, the realm that my dad was only beginning to understand when he was alive is dedicated to him.  Love you Dad!